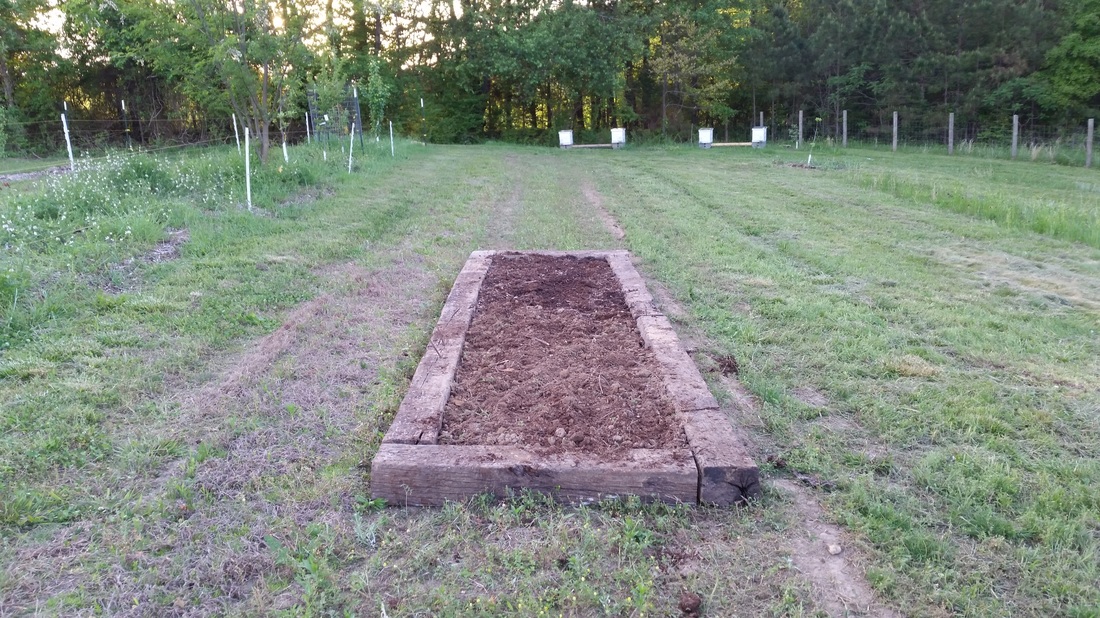
 Started some asparagus in this raised bed. I made this one 4 foot by 16 foot. I plan on making another one the same size starting from about where I am standing when I took this picture. I think it will be my garlic bed. Look back at my sunchoke blog to see how I build them. It makes a good non-compacted bed. 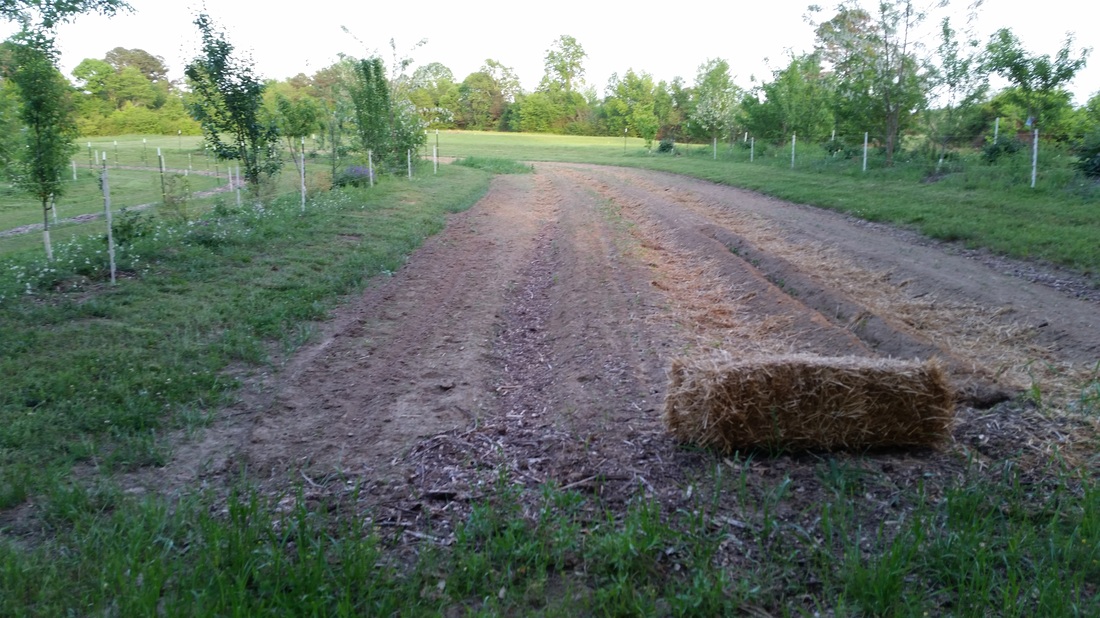 Planted some melon seeds, okra seeds, sunflower seeds and a few more squash seeds. We need rain. Unfortunately I don't have any running water to help the veggies. I will next year but I am going to have to rely on rain this year. I also chopped and dropped my weeds in my fruit tree rows. I am already behind on keep up with the weeds. I am going to have to spend next weekend pulling and cutting. 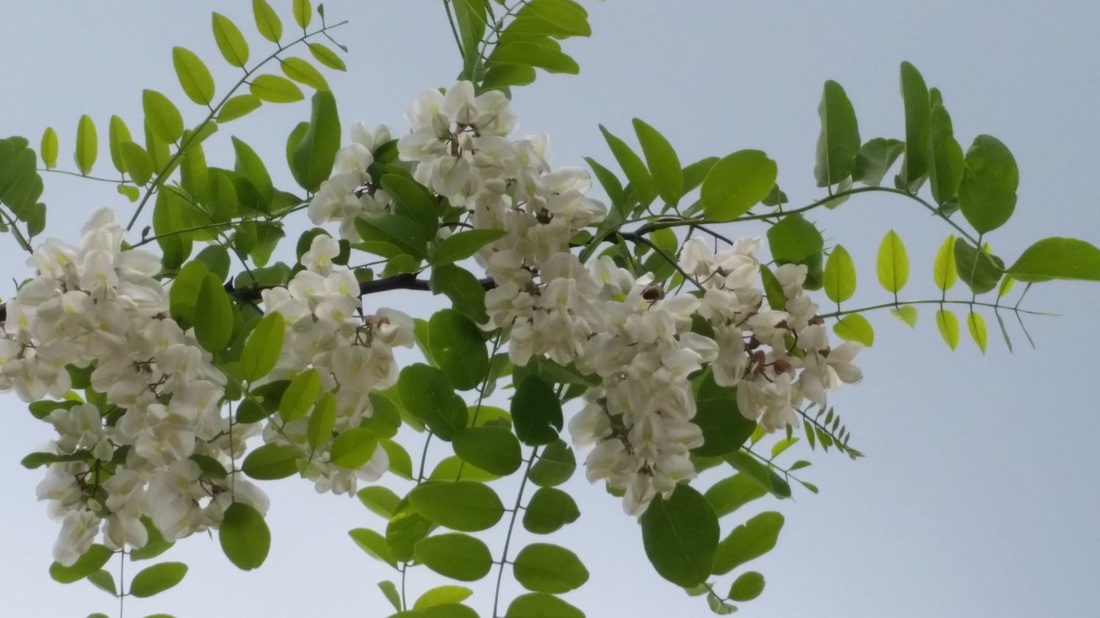 Can you spot the honeybee. My black locust are in full bloom. The whole farm smells sweet.
1 Comment
The blackberries are starting to fill out good. I cant believe they are only one year old. 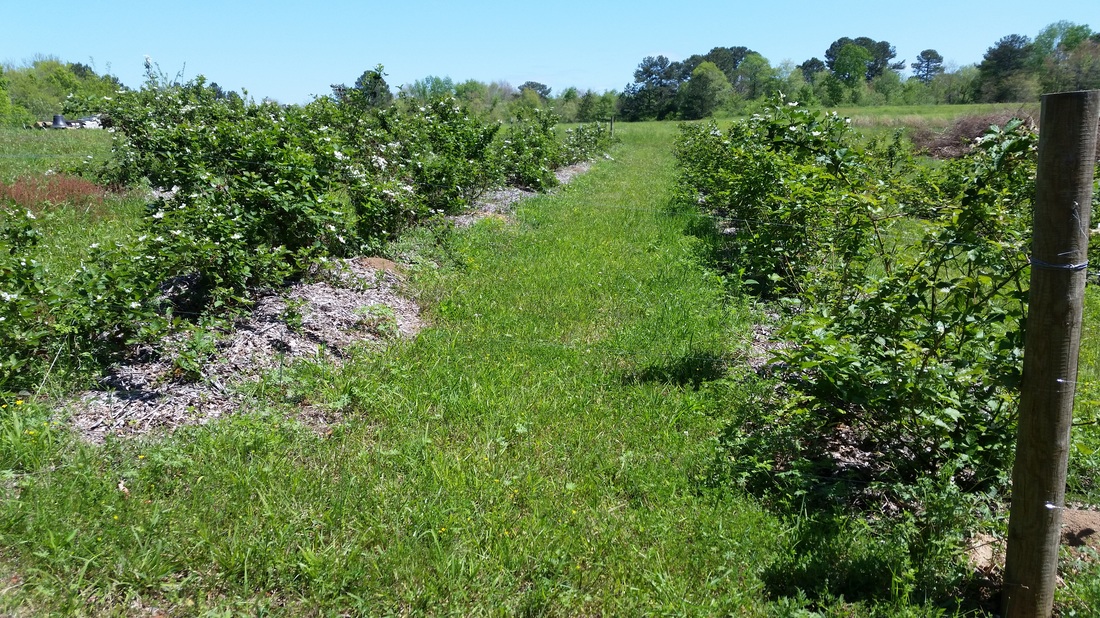 The picture below was taken from the same spot this day last year. Those post are 5 feet tall and the mulch was over 3 feet wide. See below. I was not expecting them to take off so fast. From all that I have read they take 2 years to get to picking size. I am not ready to start my u-pick but it looks the blackberries might be ready. Not sure what to do now. Friends, neighbors and co-workers and their friends might get some prime picking this year. I need to see if I can get some signs or something. I had planned to buy/build a tent or some sort of covered area to place a table and chair under. A place to sit out of the sun while people picked their blackberries. Then have a scale to weigh the berries and some baskets for people to put berries in as they pick and some bags for them to take their berries home in. But I thought I had a year to get this done. 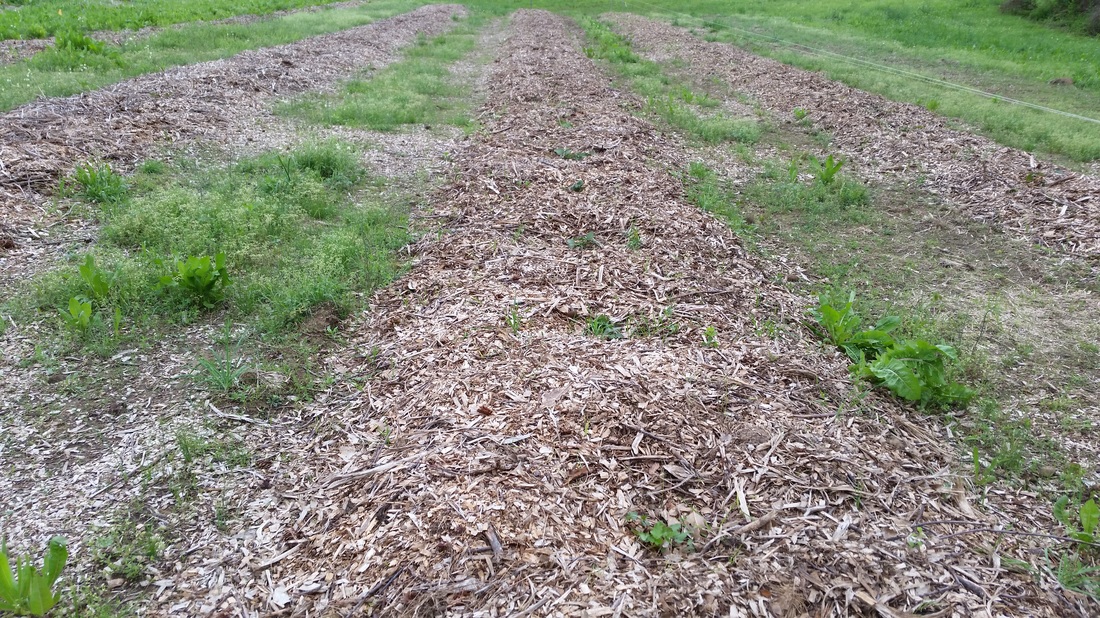 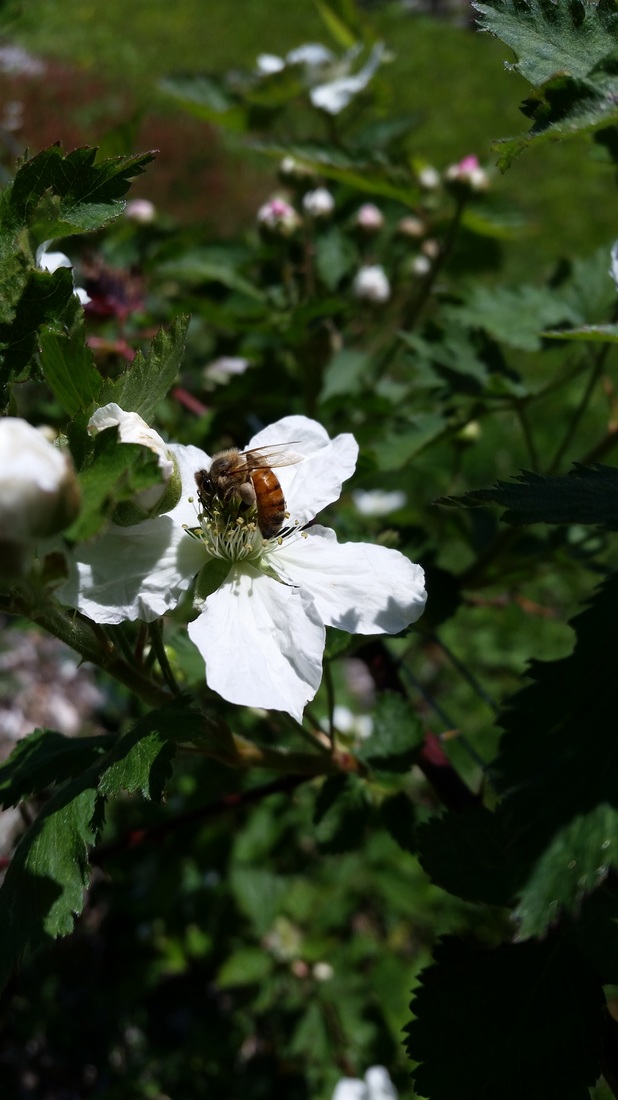 The bees are loving the blackberry blooms. As you walk between the rows you hear them buzzing. This one is packing in the pollen but I have watched others digging in deep in the flower they appear to be getting nectar. 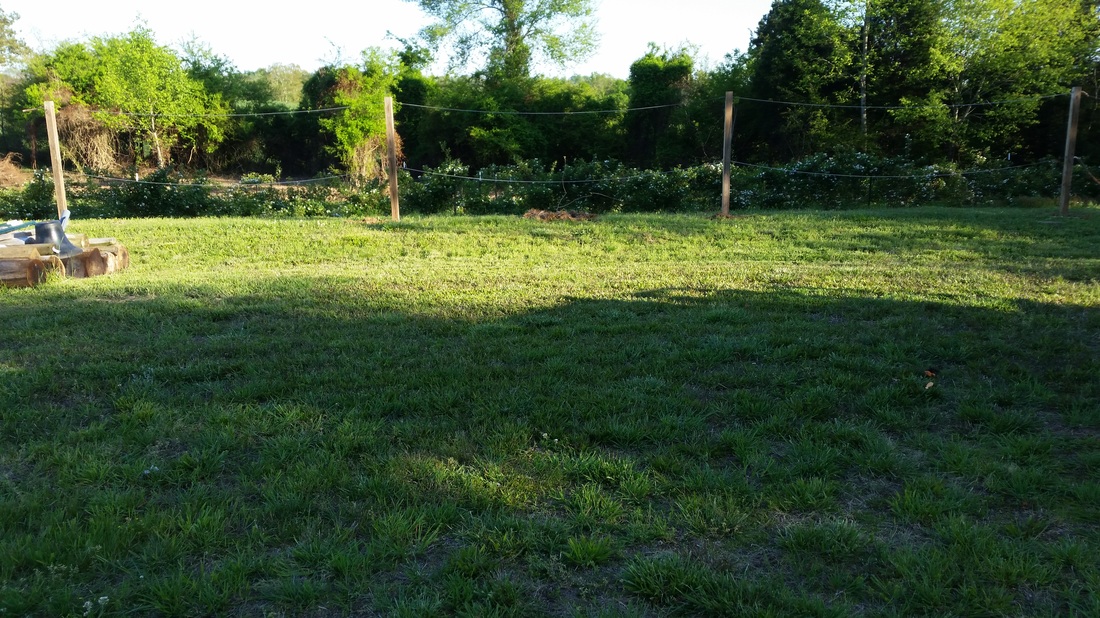 I placed four 9' 4x4's on the swale above the blackberries. I am going to trellis grapes here. They are evenly spaced 16' apart and I will plant 3 grape vines in the middle of each post. I planted my first vine in the very middle. It is a vine from my mom's bronze muscadine grape. I will plant a black muscadine and a table grape on either side. The wire is just hanging for now. I left my bolts at the house but wanted to get a picture. Once they are bolted on I can tighten them up. 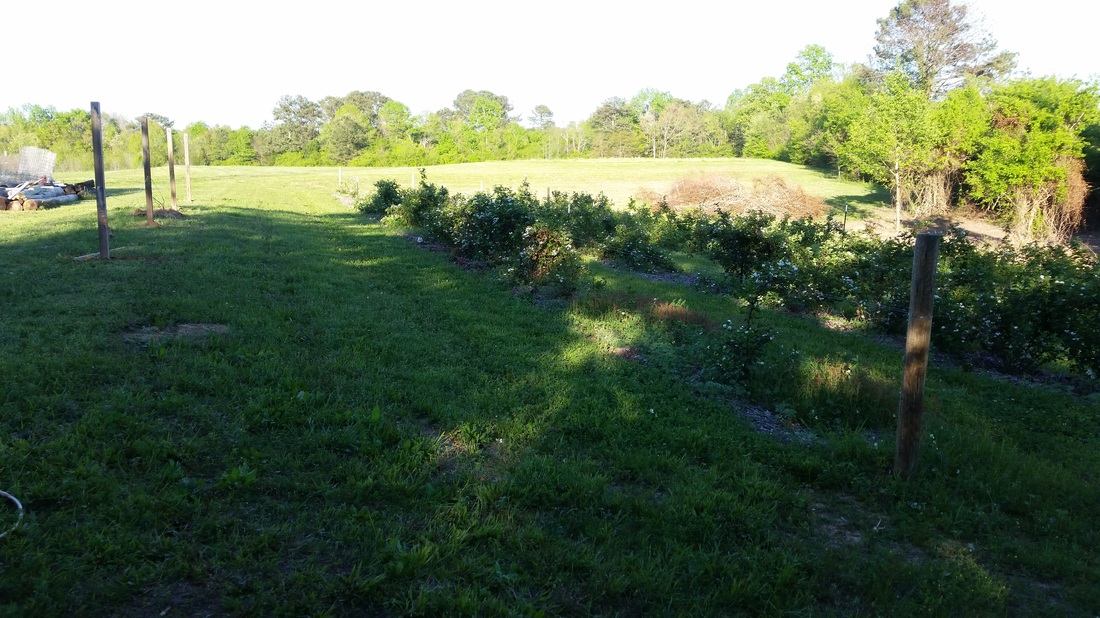 If you look close, to the right, you can see were I am clearing out some brush to make room for more blackberry rows. It needs to be cleared out so I can get to the fence to make repairs also.
I placed this bed which is about 4 'x 8' at the end of the last row of fruit trees I just put in. I wonder how many sunchokes it will make? 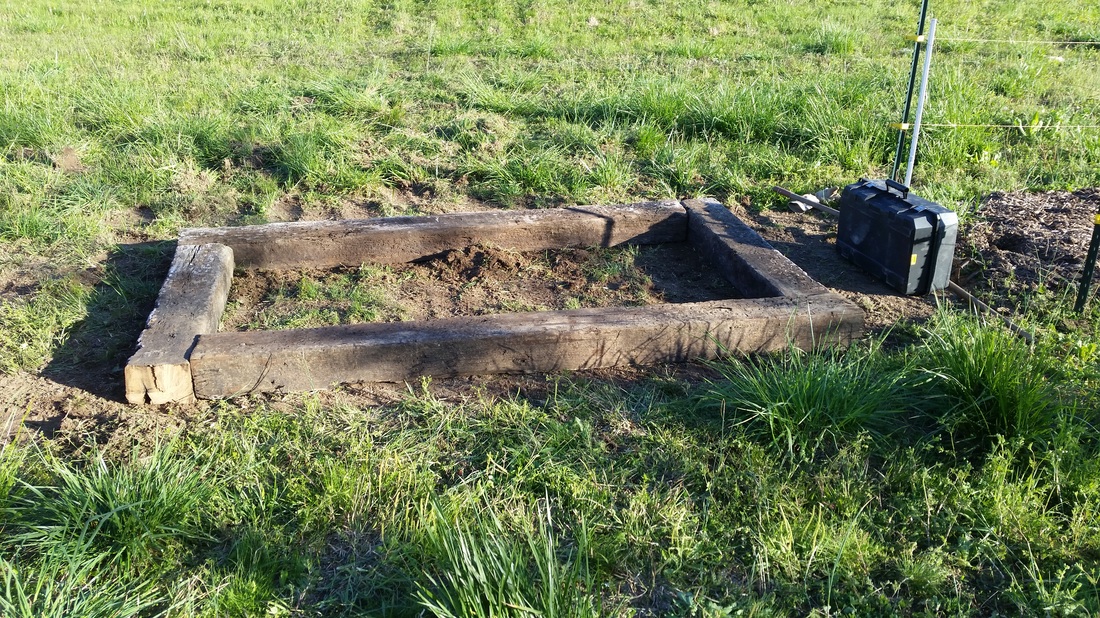 We have some old railroad ties and I thought this would be a good place to use a few of them. I have heard that the sunchokes were very invasive and hard to control. The ties are a little over 8 feet long. I cut one of them in half and placed them so that one end was butted up to another tie while the other end was out. I like placing them like this so if in the future I want to make the bed taller I can overlap the ties so that the next layer would have the be over the joints of the first. 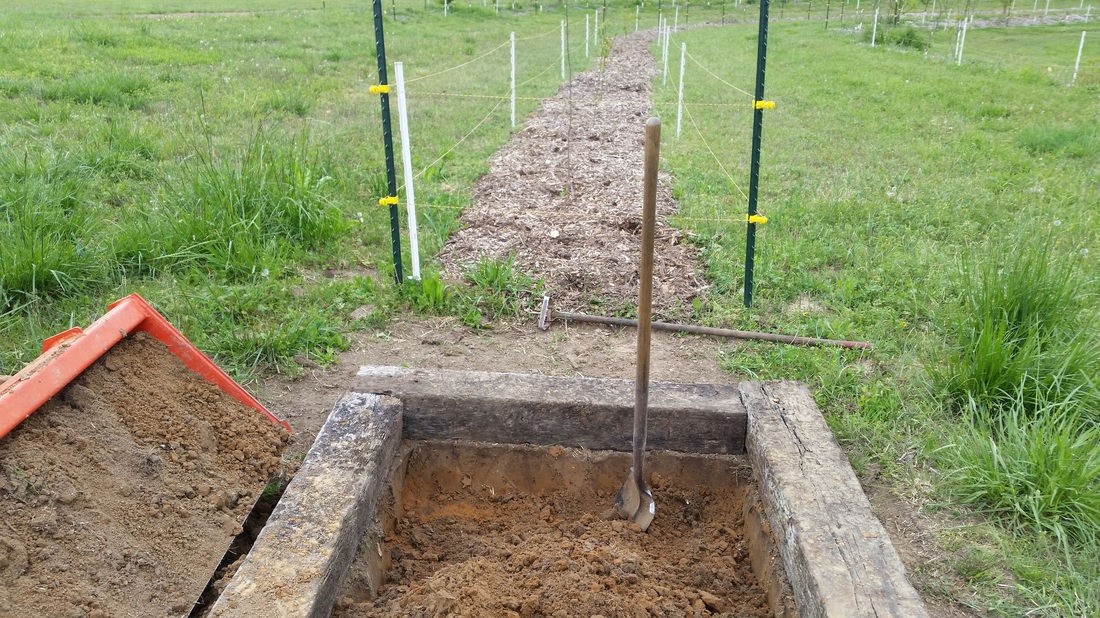 Because the ground is pretty compacted on this end of the row I dug down a little over a shovel spade deep. I broke up the hard dirt and put it in the front end loader so I would have room to keep digging. After digging the dirt out and breaking it up good I dumped the dirt back in the hole I had made. 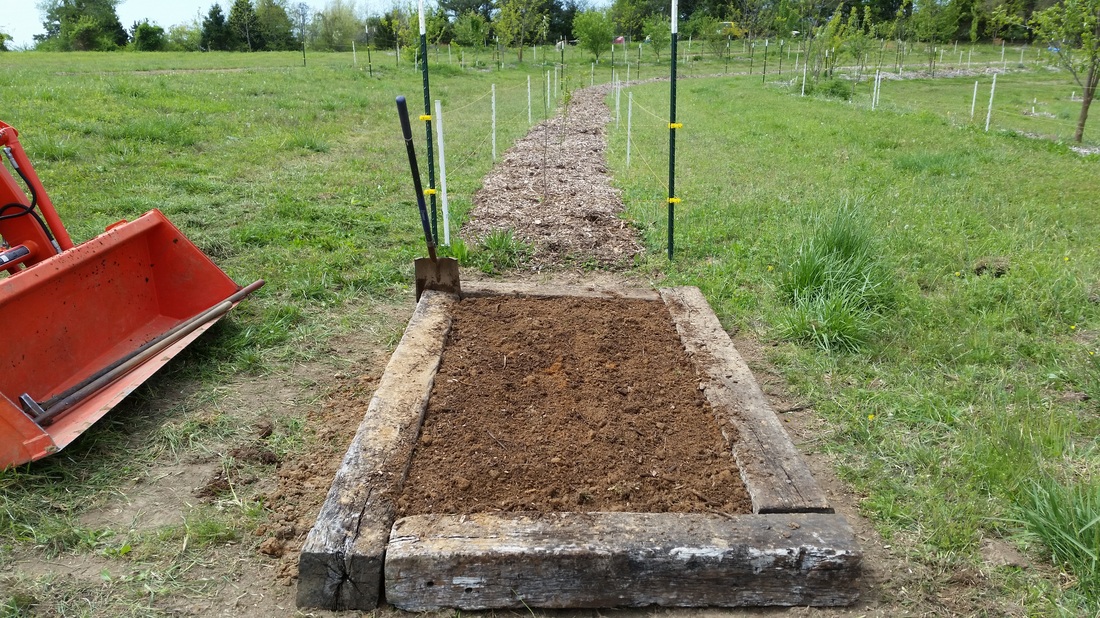 A good amount of the wood chips have composted. I got a front end load of composted wood chips and dumped on top. I also added a few shovels of compost from our compost pile. I did this to add some organic matter and loosen up the soil. I want those tubers to be able to expand. 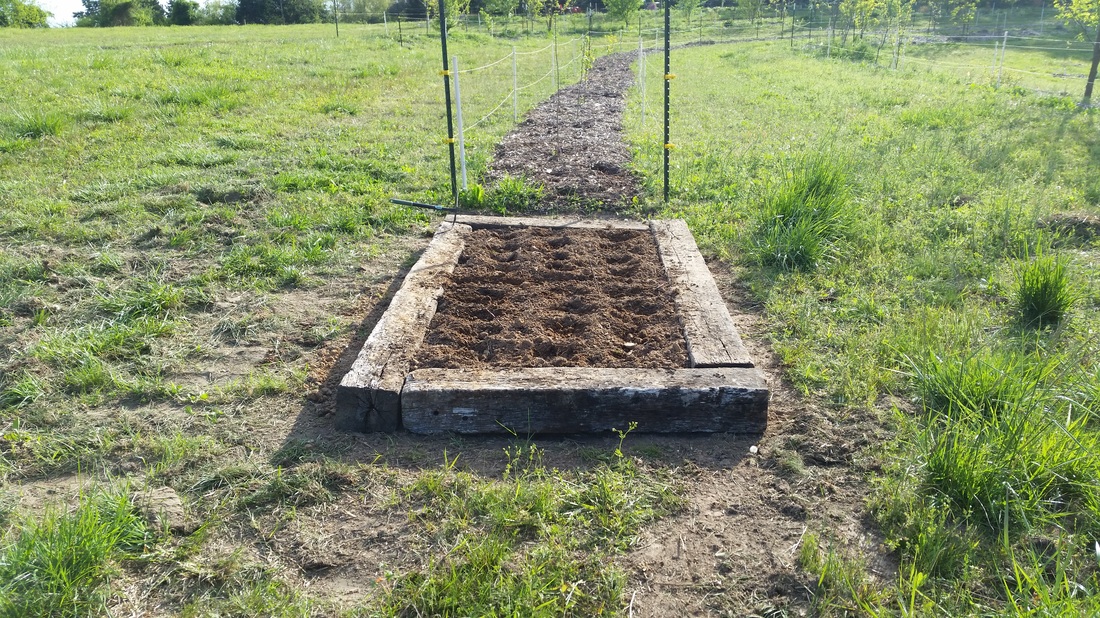 After that I placed the sunchokes in about 5 inches deep. You can see in the picture the spacing I used. After the first rain the dirt will settle a little and I will top dress this bed with straw.
  You can see how I set up a new hive. I placed 4 center blocks under each hive. I have used landscape timbers through the top two center blocks on each side. Landscape timbers have a flat areas that you can set hive bodies or frames. It helps when you have to take a few supers off to go through the hive. The center blocks are not level they are set so the hive leans toward the front. If sideways rain comes it will drain out the front this way. I placed feeders on each of the hives and will continue to feed them until they stop taking it. The top picture was taken 10 days earlier than the bottom one. Typically it would not be time to add the top supers on a new hive with foundation only but the bottom frames had drawn comb already and they are filling it up with sugar water, nectar and pollen. So I am putting some frames with foundation on the top hoping they will start drawing out some comb. Notice on the top picture I made a little bridge for the bees that were still in the box to climb to the hive entrance. I didn't have time to stay and watch them climb in but I was told it would help so I did it. Next year I will make sure I have time to observe this myself. You will also notice I have a frame of foundation sitting by the hives. This was put in the hive 3 days later after the queen was freed from her cage. The cage takes up a frame of space when you have drawn comb. Last year When I only had frames of foundation for my new hives I fit the queen cage in with all 10 frames inserted. This is my pollination for my orchard and farm. I am planning on expanding this over the next few years adding 4 hives a year until I get enough to start selling a little honey.
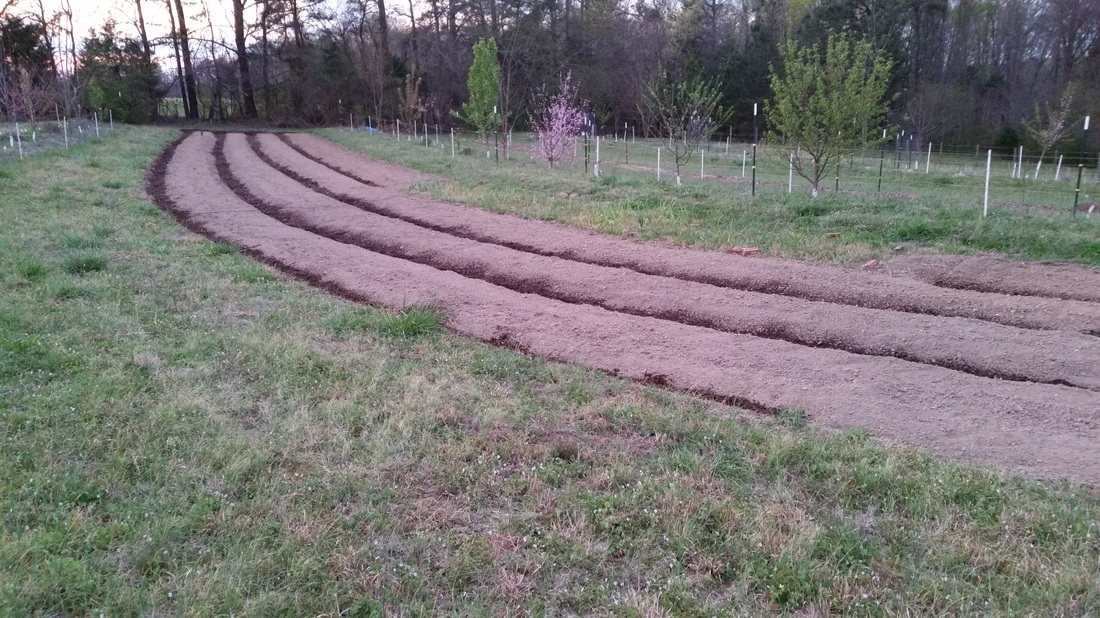 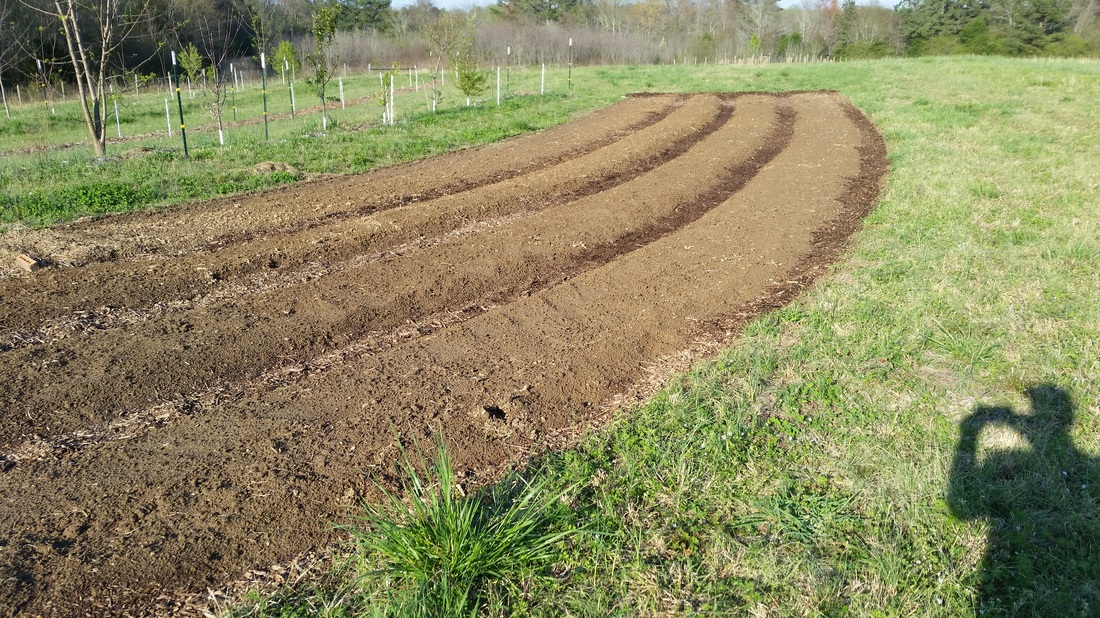 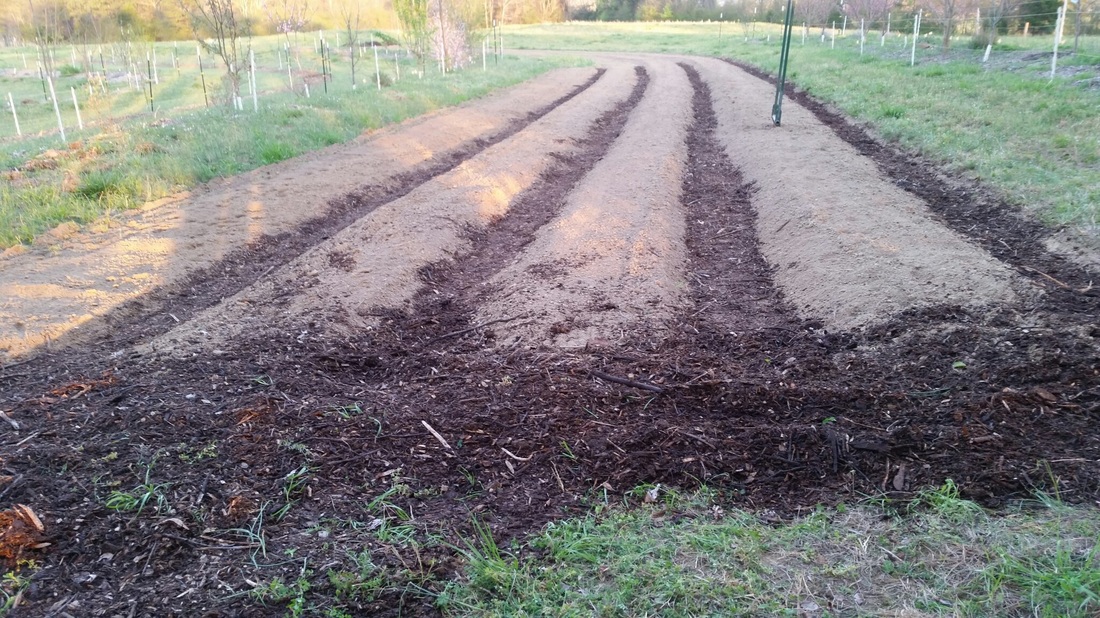 This was a lot of work but it will pay off over the years. I now have no till garden beds. Yes, I tilled to get them started. All the beds are have now been mulched around with wood chips. The broad fork was used to break up the hard pan that the tiller left behind. It pulled up a two to three inch layer of compacted dirt. I will put some straw in the rows on top of the wood chips as an added layer of mulch. Once the this is planted and the plants get up a few inches I will place straw on the beds for mulch also. This year we will log what was planted where so that next year we can rotate our crops.
|
Kevin HarrisI'm building a working homestead with the intent that it will provide health food for my family and yours. This will be a place for you to come pick your food and connect with where it was grown. Archives
February 2017
CategoriesComing Soon
|
 RSS Feed