 I weeded and tilled and weeded again. Set the rows out but didn't get the sub-soil boardfork completed. I had other task and a tired back from setting up the rows. I dug 8 blackberry shoots up and potted them. Also potted up some goji cuttings to try and root them. Mulched around all the nut trees. I will get a picture of them once they start putting on some leaves. I will get the garden beds sub-soiled next week. I will have a picture of the completed rows next week. Planning on mulching those walkways with wood chips and covering that with straw. 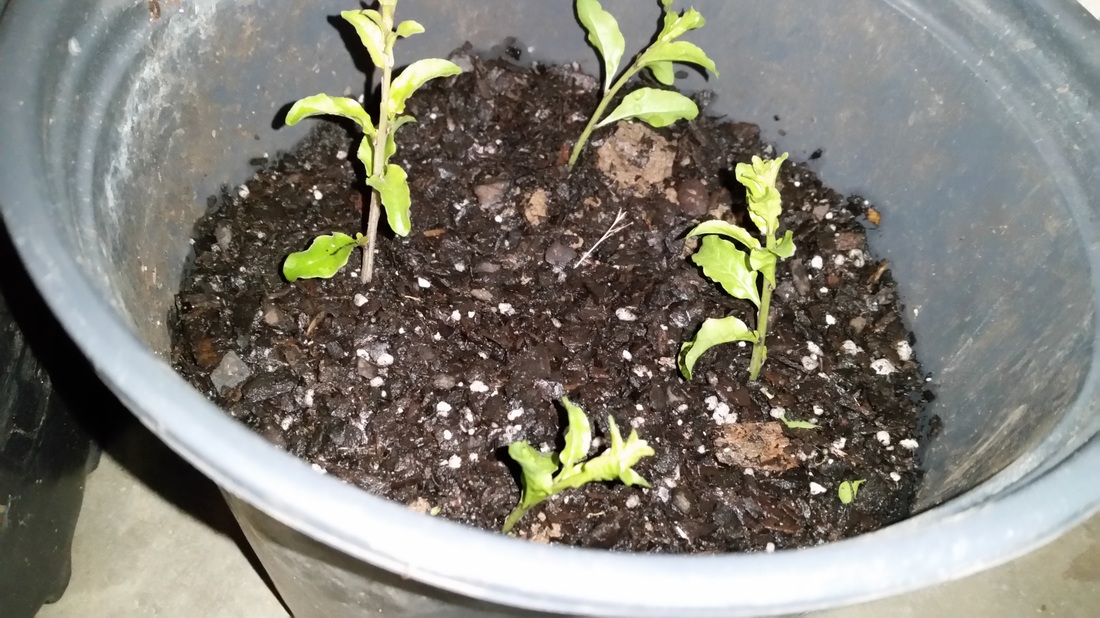 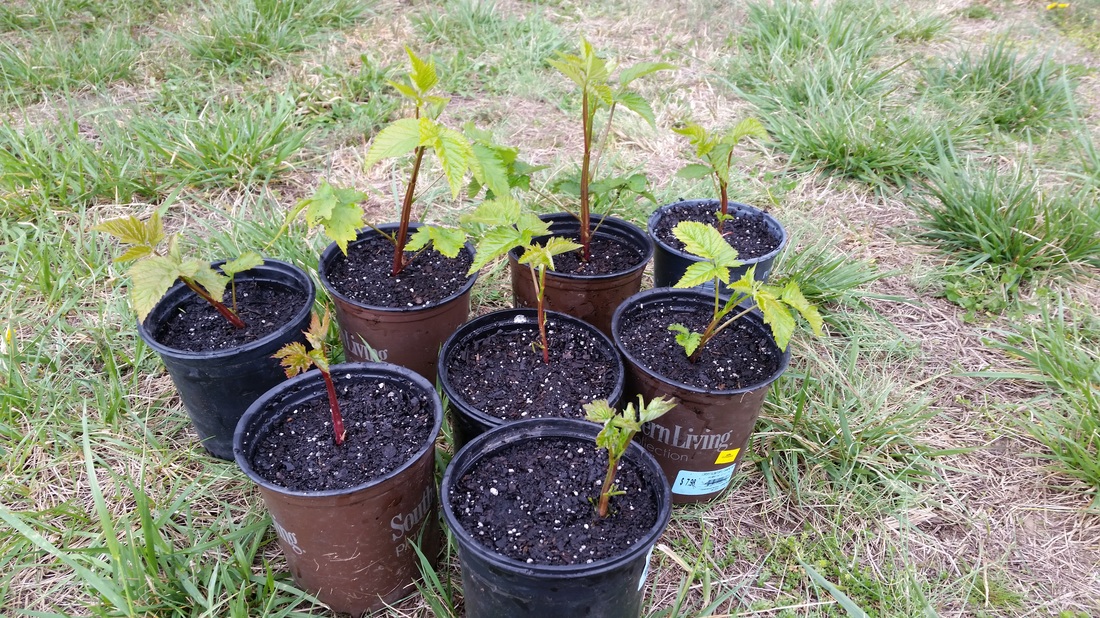
1 Comment
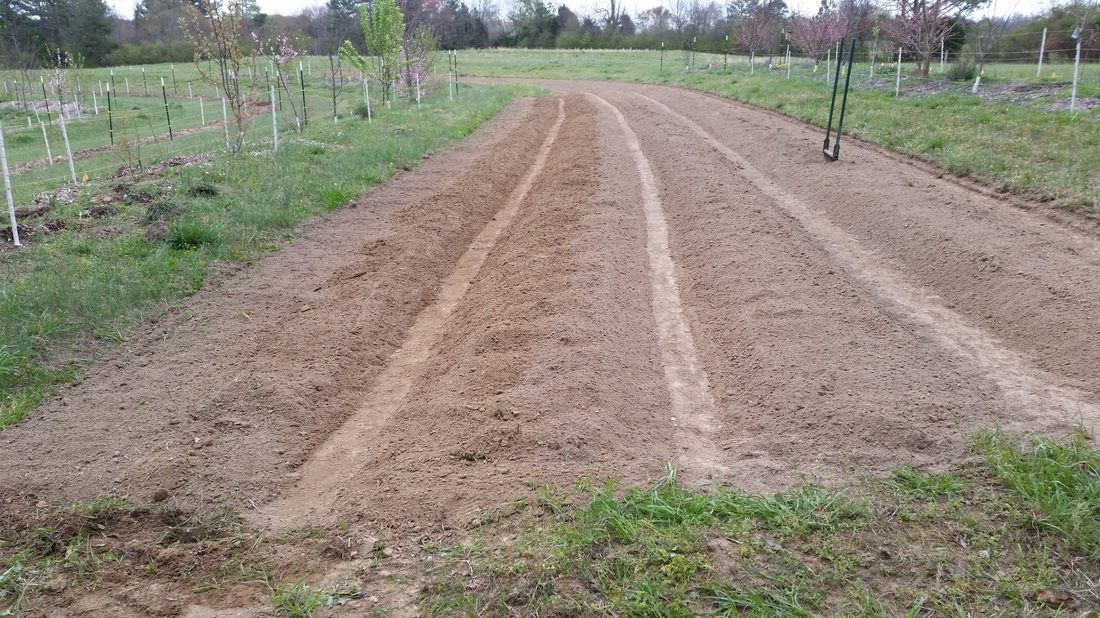
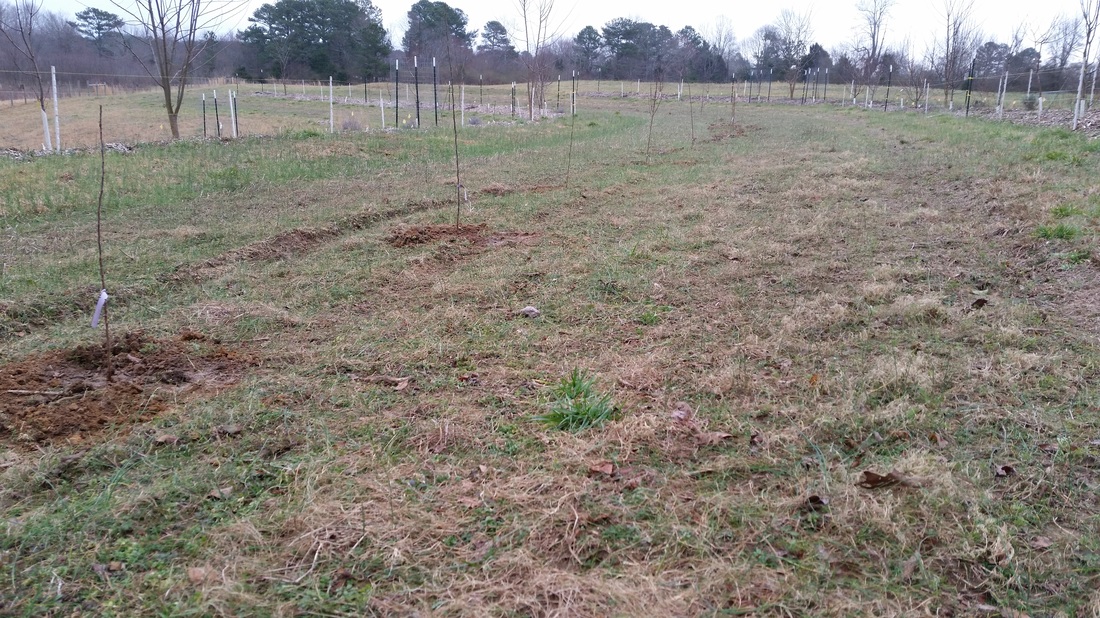
My last year to use this lane as a garden. Next year a row of trees will do here like the terrace below.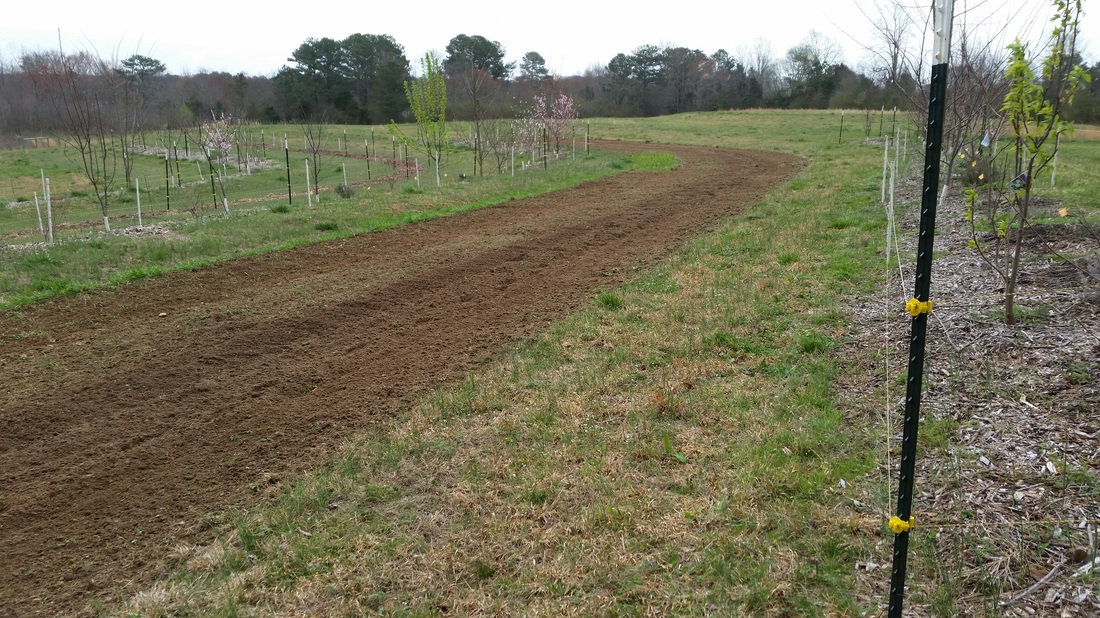 I tilled it. I would like to get some permanent garden beds that I can switch to no till. Maybe I can get them installed and prepared this year. I have a lot of grass growing so I tilled and pulled it out. I will go back and pull it out again later this week and give it another till and pull grass some more next week. After that I will lay out my rows and take a broad fork and break up the sub soil. That gets pretty compacted from tilling. The fork gets down there and breaks it up but its a lot of work. I will regret not having put in no till beds last year after running that broad fork. I will post some updates next weekend. Putting in 4 new hives in April and the blackberries should be blooming then also. I will get some pictures of that for sure.
 We ordered enough bare root trees to plant a new row on the flat terrace between the swales. As you see above the trees were planted and given a couple of shovels of compose as a top dressing. Then we added some straw on top of that. After the straw was place around each tree we went back and added cardboard down the entire row. Unlike the top dressing of compost and straw the cardboard was not just around the tree but between the trees also. 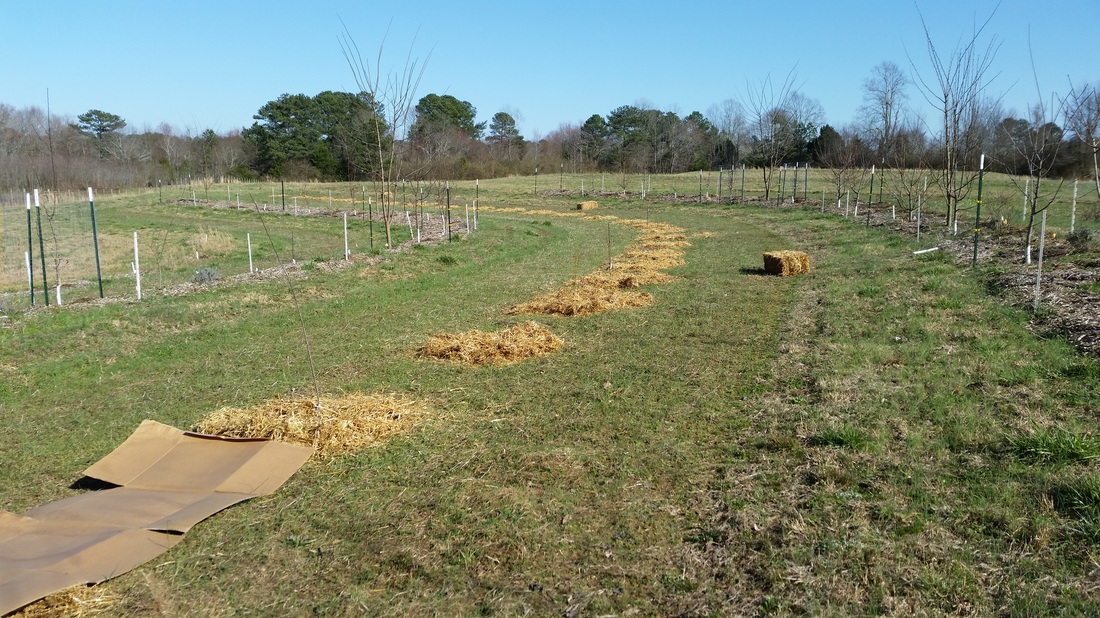 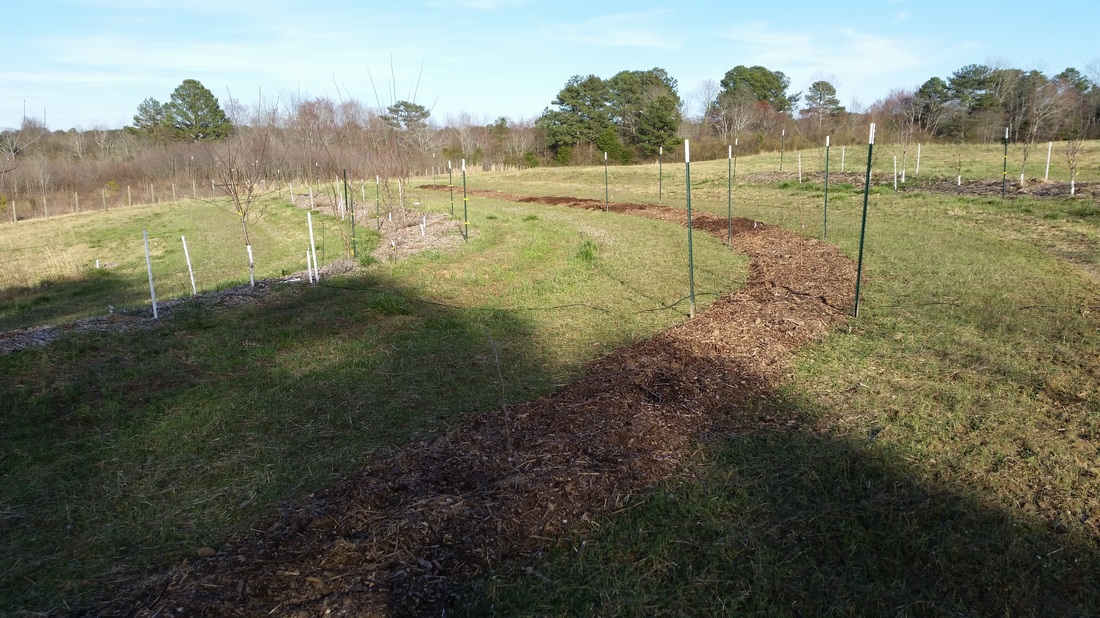 Once we had at least two layers of cardboard down over the entire row we added a layer of wood chips on top of the cardboard. Most places the wood chips are about 4 inches deep but some places it is a little deeper. I would guess no deeper than 6 inches. After all the chips are in we added some deer protection. We spaced out some tee post then filled in the gaps with some step in electric fence post.  The final step is stringing some wire and hooking it up to the hot wire to energize it.
Putting in honeybees for pollination and honey production on my Huntsville area regenerative homestead.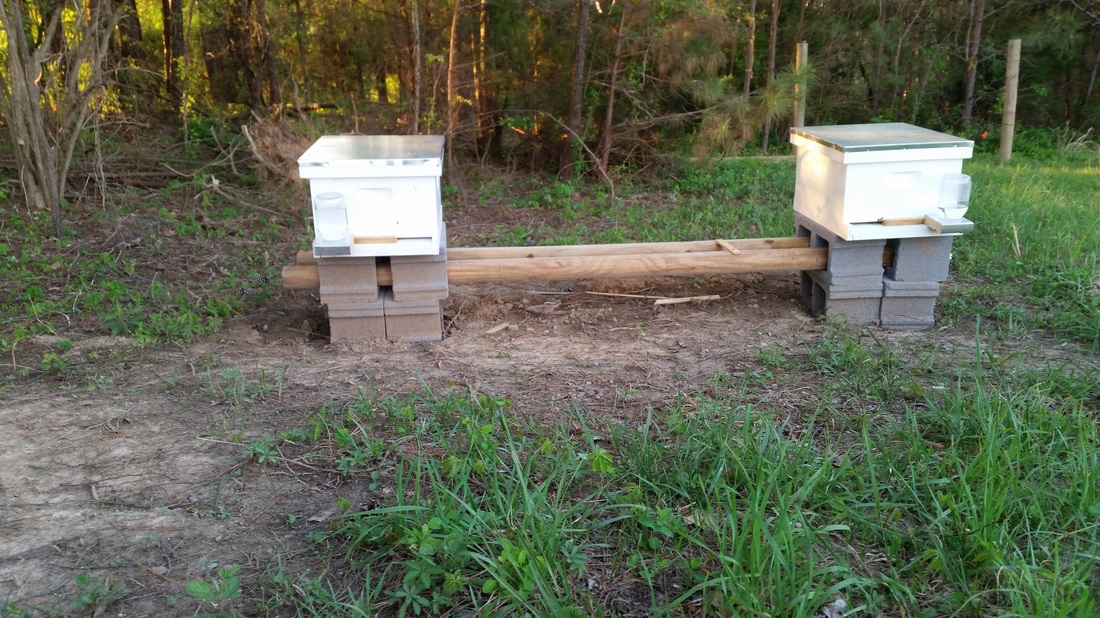 This was my first attempt at beekeeping. I attended a some classes put on by the local honeybee association during January and February. There I meet some very helpful people that pointed me in the right direction on purchasing my bee packages. A package has 3 to 5 pounds of bees and a queen in it. As you can see in the picture above I started with two hives. I thought they were doing great drawing out new comb on the foundations but I lost one after I put on the next box. I managed to keep the other one going good and was excited to be coming out of this winter with what I thought was a strong colony. Some where this past month I messed up and sadly lost the other colony. I believe it was from feeding the bees from the top of the hive. It appears that the jar leaked out on the bees somehow. I had added another deep last summer and it is full of honey. To be honest I am not sure what went wrong. I am not giving up though. I plan on starting out this spring with 4 hives. I will add another two next to the two in the picture above. What can I do with all that honey that is in the last one that I lost. I will find out if I can use it for the new bees and let you know how it worked out.
|
Kevin HarrisI'm building a working homestead with the intent that it will provide health food for my family and yours. This will be a place for you to come pick your food and connect with where it was grown. Archives
February 2017
CategoriesComing Soon
|
 RSS Feed